

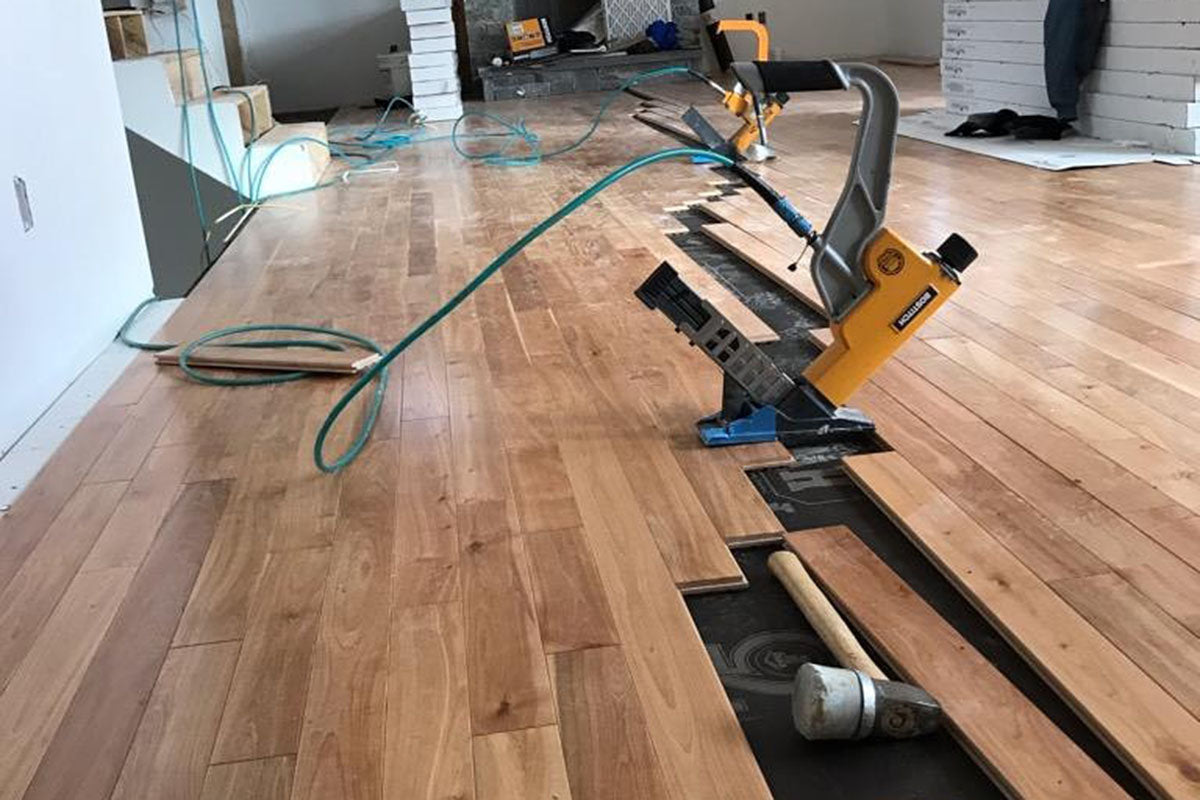
Your new hardwood floors are installed, but there’s still work happening in the house. The painters need to finish the baseboards. Workers are carrying tools through the rooms. Ladders are moving around.
How do you keep those new floors looking new?
At Arbor Zen, we start with a simple rule: avoid putting tape directly on the hardwood. Then we plan the floor protection and painting work together.
Here’s why that matters—and how to get the job done carefully.
Why painter’s tape can damage hardwood floors
Prefinished hardwood arrives with its protective finish already applied at the factory. That finish helps protect the wood, but it can still be damaged.
Tape introduces an adhesive—the sticky material on its underside—that may bond to the floor’s surface. When someone removes the tape, it can leave sticky residue or pull away part of the finish. In some cases, it can even lift wood fibers.
Think about removing a sticker from a painted surface. Sometimes it comes off cleanly. Sometimes paint comes with it. You don’t want to discover which will happen on a brand-new floor.
Blue, green or purple tape is not automatically safe just because it says “painter’s tape” or “delicate surface.” Some tapes are marketed for wood floors, but that does not mean they are suitable for every factory finish. The flooring manufacturer’s instructions still matter.
What does the NWFA recommend?

The National Wood Flooring Association, or NWFA, publishes guidance for installing and caring for wood floors.
Its revised 2025 Installation Guidelines state on printed page 150:
“Do not tape to finished flooring.”
The guidance also says to tape protective sheets to each other instead of the floor. Where appropriate, low-adhesion tape can attach coverings to base or shoe mouldings.
For homeowners and contractors, the practical message is clear: the hardwood should not be the surface that holds your masking tape in place.
How Arbor Zen approaches floor protection
At Arbor Zen, we use a two-layer protection system:
-
FloorOtex rolls next to the floor. This creates a protective contact layer.

-
X-Factor corrugated plastic sheets on top. These 4-by-8-foot sheets provide an additional barrier during construction.

The idea is to protect against everyday jobsite hazards such as dirt, paint drips and contact from tools or foot traffic.
However, more layers do not automatically mean better protection in every situation. The materials must also be compatible with the flooring and the conditions in the home.
FloorOtex has a slightly sticky backing that helps it stay in place. That means avoiding separate tape does not make the entire system adhesive-free. Its instructions and the flooring manufacturer’s requirements still need to be checked.
Floor protection needs to let moisture escape
A covering can protect against scratches while creating another problem: trapped moisture.
When a protection product is described as breathable, that means water vapor can pass through it. It does not mean the covering has visible holes.
Think of wearing a breathable shirt under a raincoat. The shirt may let moisture through, but the outer layer still affects how easily that moisture escapes. Floor coverings work in a similar way.
FloorOtex is described by its manufacturer as breathable. However, that alone does not prove that FloorOtex covered with corrugated plastic will allow enough moisture through.
The exact X-Factor product and the complete two-layer combination need verification before we can call the system breathable or say it meets NWFA guidance.
This is especially important with glue-down floors, where covering too soon may interfere with the adhesive curing—the process of becoming fully set.
How can painters paint baseboards without taping the floor?
Baseboards are the trim pieces along the bottom of the walls. Painting them neatly is possible without sticking tape to the hardwood, but it takes planning.
1. Paint trim before installation when practical
Our recommended approach is to prime and paint trim before it goes in whenever the project schedule allows. That leaves fewer areas to touch up beside the finished floor.
2. Use a clean paint shield and careful brush work
A paint shield is a flat tool held between the area being painted and the surface being protected.
The painter should keep its edge clean, lift it when moving to the next section and avoid dragging it across the floor. Paint on the underside or grit caught beneath it can cause damage.
Never force a shield under tight trim.
3. Attach masking to the protection
Masking paper can be secured to the protective covering instead of the hardwood. Keep all sticky edges away from the floor, including where sheets meet.
If spraying would allow paint to get through a gap near the floor, switch to a more controlled method, such as brushing that section.
4. Handle drips immediately and carefully
If paint reaches the floor, stop and use a cleaning method approved for that flooring and finish.
Do not start experimenting with paint thinner, abrasive pads or razor blades. A small drip can become a much larger repair if the cleanup damages the surface.
Protection still needs attention after it is installed
A covered floor is not a floor you can forget about.
We recommend daily checks during active construction, especially after messy work or equipment movement. Look for loose edges, dirt, punctures, spills and damp spots.
A few habits make a big difference:
-
Clean the floor before covering it.
-
Check reused materials for grit or sharp debris.
-
Cut protective materials away from the hardwood.
-
Lift sheets and equipment instead of dragging them.
-
Keep ladders stable and their feet clean.
-
Plan extra protection for heavy equipment and concentrated loads.
-
Remove coverings according to the approved project plan.
Ordinary floor protection is not a guarantee against a heavy appliance, loaded scaffold or stack of construction materials.
What if someone has already taped the floor?
Don’t panic, and don’t yank it off.
Pause the work, photograph the area and identify the tape if possible. Contact the flooring contractor or manufacturer for a suitable removal method before using heat, chemicals or scraping tools.
Even a successful test in one small spot does not guarantee that the tape will come off safely everywhere.
At Arbor Zen Hardwood Floors, we encourage builders, painters and homeowners to discuss protection before the next trade starts work. A few minutes of planning can help everyone finish the project without damaging the floor underneath.
Have painting or construction planned after your hardwood installation? Talk with Arbor Zen about the protection materials and work methods that fit your floor.
Sources: NWFA Installation Guidelines, printed page 150, FloorOtex product information, Mullican flooring FAQs, and Bjelin’s guidance on floor tape.

Share:
LVP vs. Hardwood Flooring: Which Is Right for Your Western NC Home?